We’ve been back-to-school for about a month already and school is in full swing! One of the things that I always love to do is try to figure out ways to be more organized for back-to-school. The more organized and prepared I am for school, the smoother my day and year goes. So to help with organizing our school supplies, I used my Cricut Joy to create labels for a few desk organizers. I love that I can make virtually anything using the Cricut Joy whether it’s labels, classroom decor, and stickers to make my personal home classroom beautiful. This helps me so that I focus on lesson planning and homeschooling instead of trying to figure out where everything is!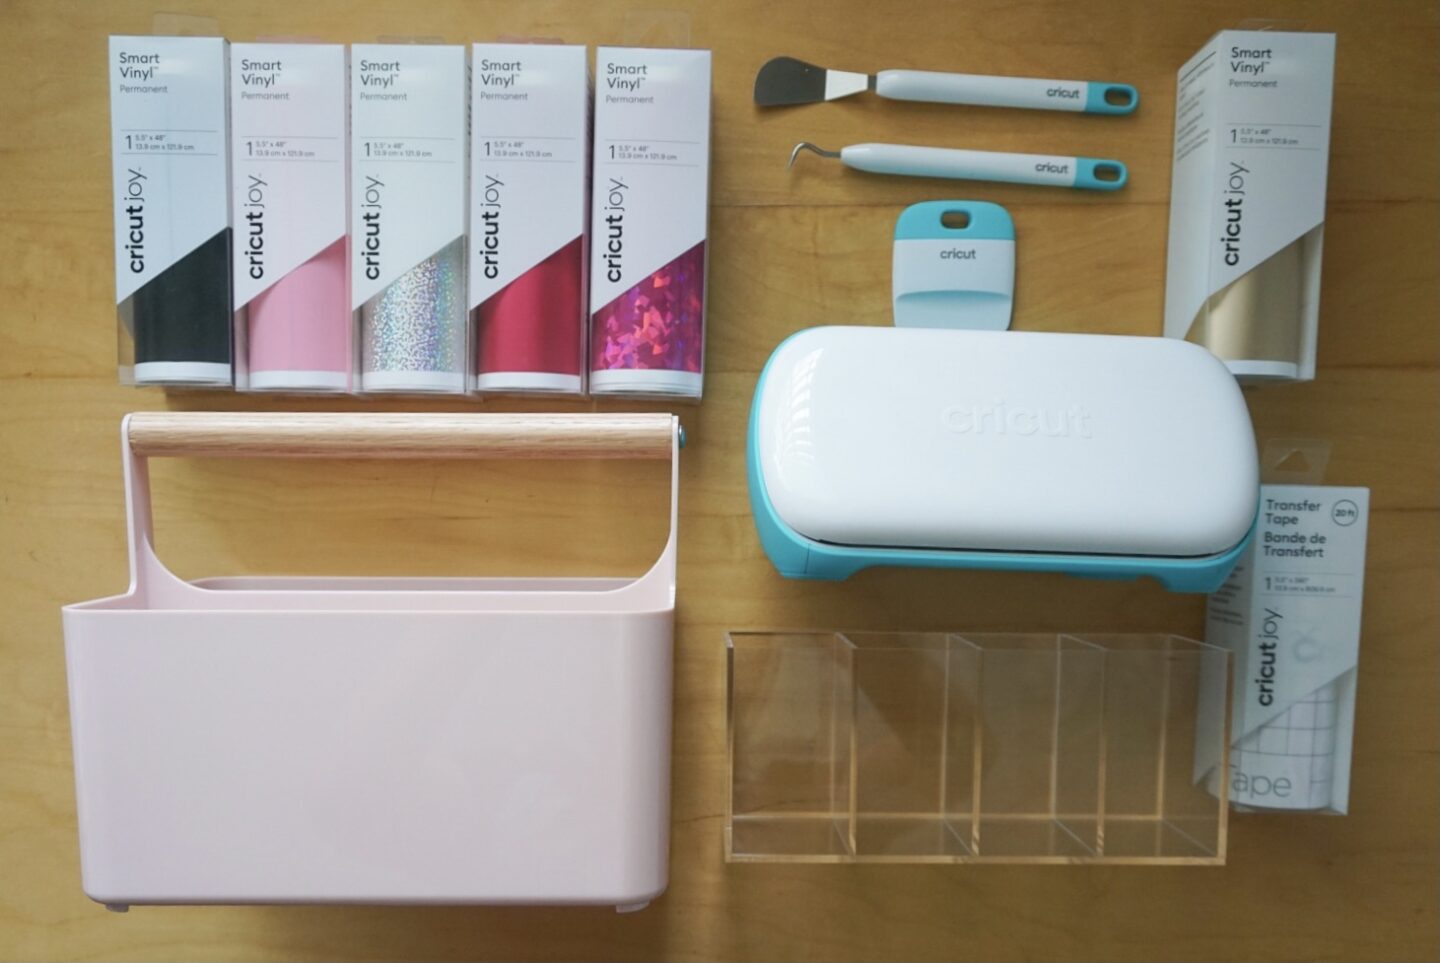
This post is sponsored by Cricut but all thoughts and opinions are my own.
Desk Organizer
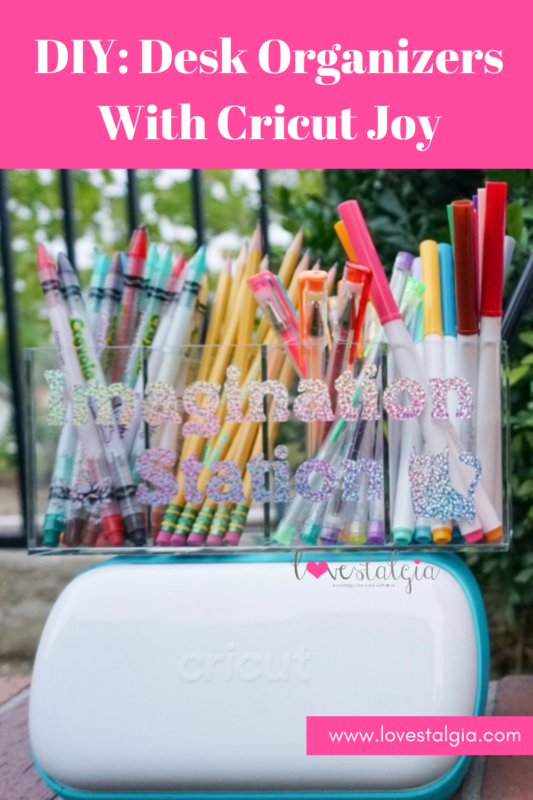
I decided to create an “Imagination Station” for writing and drawing tools that A uses for school. I let her pick the vinyl colors and a few images to personalize the surface. We also decided to make a “Learning Toolkit” for resources we use during homeschooling.
Here are the materials for our project:
- Cricut Joy Machine
- Basic Tool Set
- Cricut Joy Transfer Tape
- Cricut Joy Smart Vinyl- Holographic Sparkle
- Cricut Joy Smart Vinyl- Party Pink
- Desk Organizer- I bought this one for the Learning Toolkit and this one for the Imagination Toolkit.
Directions
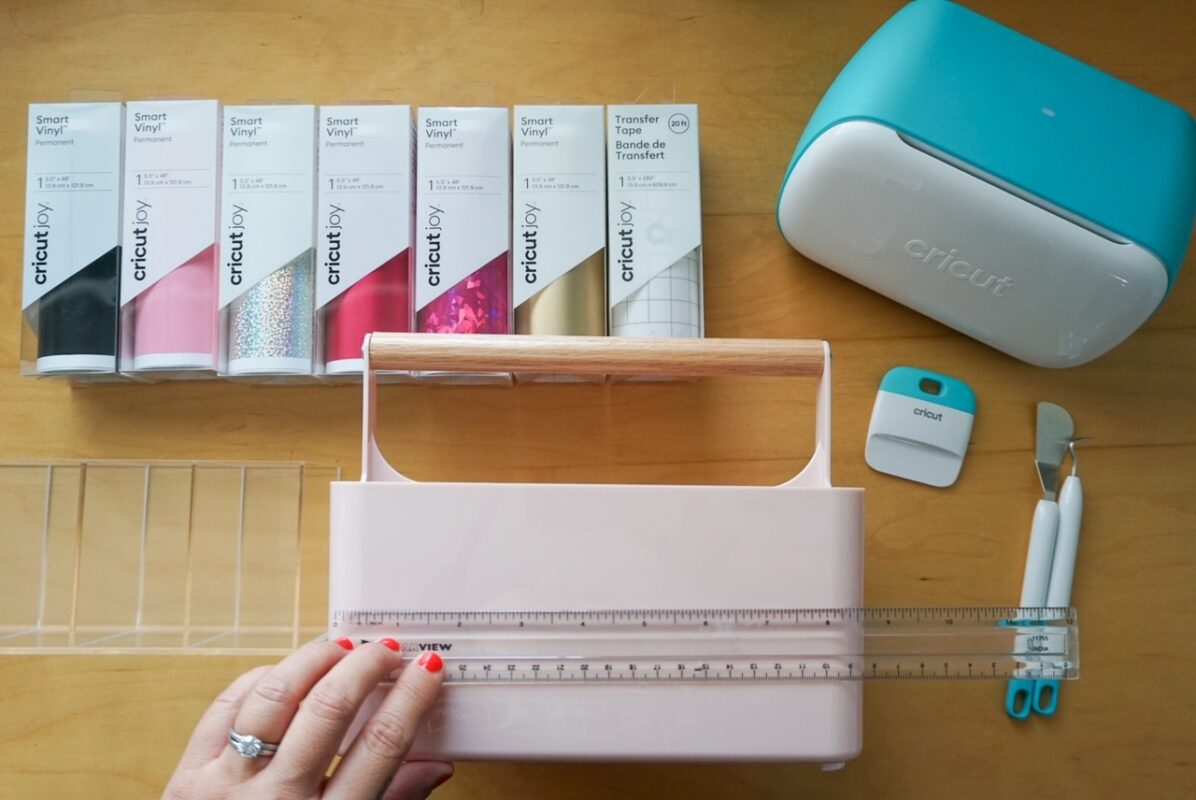
- First, measure the desk organizer/ space you want to place your design so that when you create your design, you can gauge how big to make it.
- Next, create your design using Cricut Design Space. You can also do this on the Cricut Design Space app but prefer using my computer. I used Paddington Regular for the text for the pencil container and Mahogany Script for the Learning Toolkit. We also used the following images- cat (M9C8B9EC), unicorn (M1D75ACB3) and hearts (M6DCE82B). Adjust the size of your design to fit the surface of your project.
- When you’re done with your design, send it to the Cricut Joy! You can do that by hitting the green “Make It” button. I used Smart Materials for my project so it didn’t need a mat. I did use some smaller pieces of Smart Materials for the images and placed the material on a cutting mat.
- After it’s finished cutting, unload the machine and weed away the extra materials using the weeder tool.
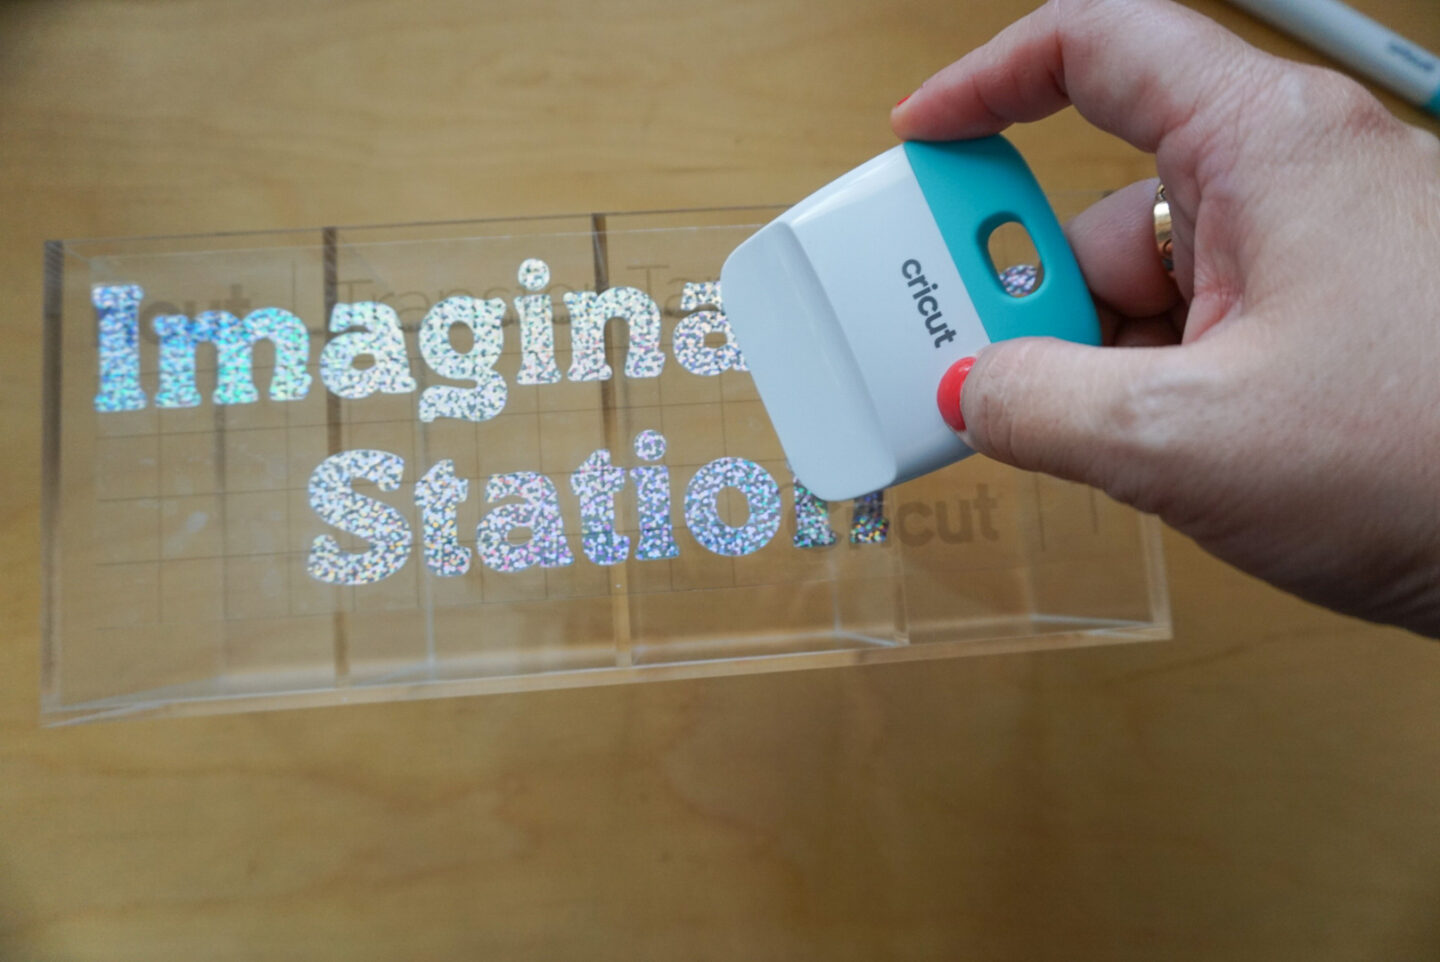
- Then use Transfer Tape to help you place your design on the surface of your container. Cut the Transfer Tape to the size of the design. Place it on top and smooth it out using the scrapper tool. Slowly peel away the transfer tape and design from the paper backing.
- Finally, place the decal on the surface of your container. Place one end down and smooth it out. Use the scrapper tool to smooth out the decal on the surface. Peel off the transfer tape and you’re done!
Finished Project
I decided to call the container for the writing tools “Imagination Station” because I wanted to fill it with tools that A would use during writing and drawing. It would be the place for all her tools to spark creativity when she uses her imagination! The Learning Toolkit is the place for resources and materials such as scissors, glue stick, ruler, mini dictionary, journals, and pop-its for math. It’s her toolkit for the resources she uses every day when we learn.
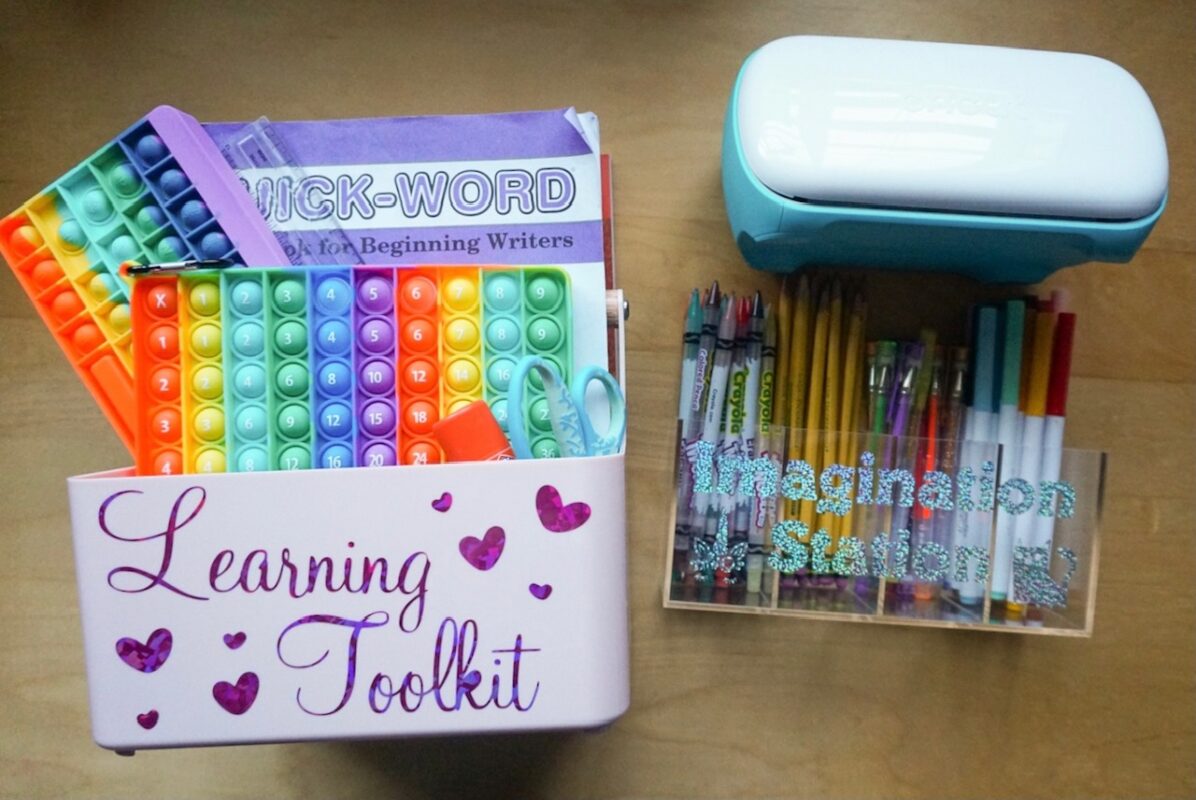
The Cricut Joy with Smart Materials helped me to create these two desk organizers so that we can focus on learning. You can adapt this project for classroom use for students or teachers so that everything they need is easily accessible.
