I’ve had my Cricut Explore Air 2 for a couple of years so when the Cricut Joy came out, I didn’t think I needed it because I already had a Cricut machine. I was wrong. Even if you have a Cricut machine, the Cricut Joy is a great addition and is the ultimate tool you need for creating everything your imagination dreams of. Whether it’s party decorations, personalized cards, or gift baskets, the Cricut Joy can do it all! I decided to use it to create a summer activity bag for A and her friends! I’ll share more about that later but let me tell you more about the Cricut Joy and why it’s so amazing!
This post is sponsored by Cricut but all thoughts and opinions are my own.
What is the Cricut Joy?
The Cricut Joy is a compact machine that can cut over 50 materials up to 5.5 inches wide and up to 20 feet long. It uses 2 tools for cutting and writing. It’s the perfect tool for creating everything you need for a party, a personalized gift, or creative decor! The possibilities are endless!
Cricut machines are easy to use and the Cricut Joy is no exception. What makes it even easier is Smart Materials and how you can cut your designs without a mat! You can even use Cricut Design Space on your phone using the Cricut Joy app to create and send it directly to the Cricut Joy wirelessly. The Cricut Joy is also small, compact and portable so you can take it with you and work on your projects anywhere!
Summer Activity Bag
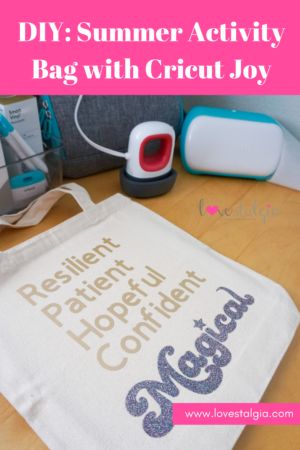
For my project, I wanted to create a summer activity bag for A and her friends. I decided to decorate the front with words that described kids during the last year with all the changes that 2020 brought. I also decided to fill the bag with some fun things for the kids to work on during the summer. They can also use the bag to take on their adventures throughout the summer and beyond. The Cricut Joy made it so easy to create everything!
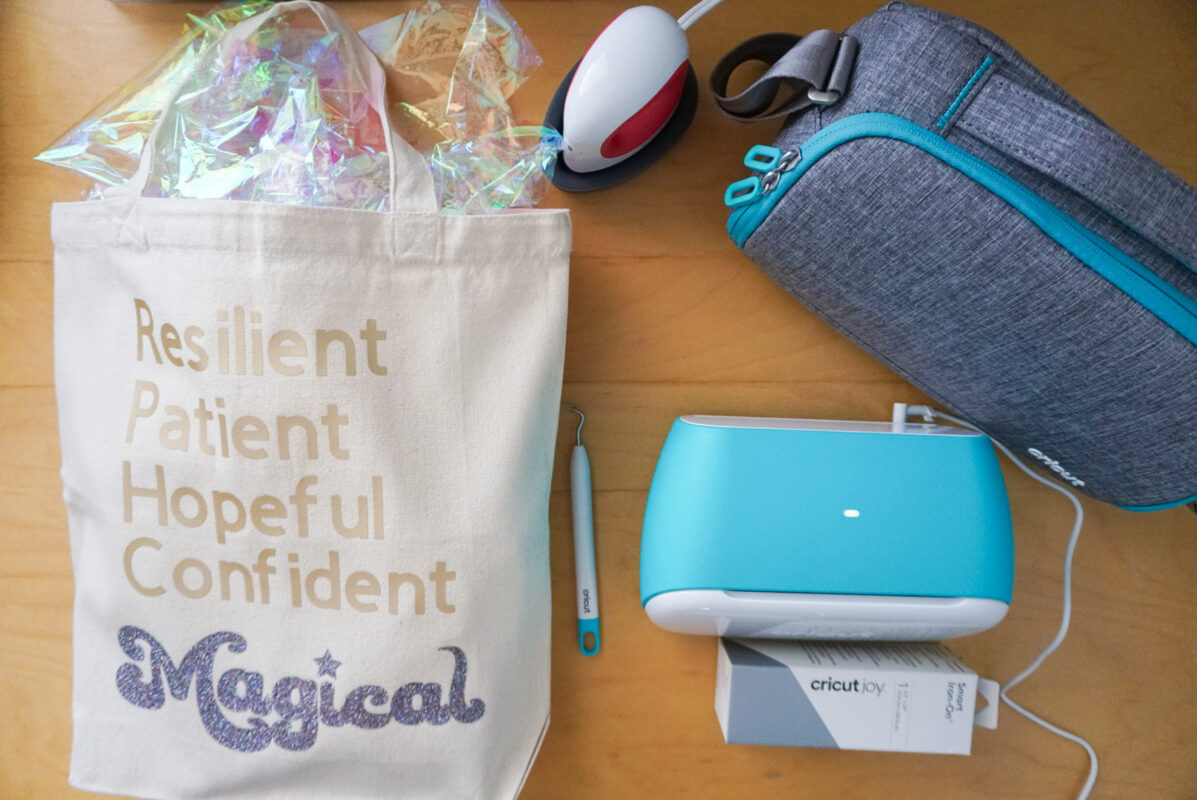
Here are all the materials I used for my project!
- Cricut Joy
- Cricut Joy Smart Iron On Glitter
- Cricut Joy Smart Iron On in Gold
- Cricut Joy Tools
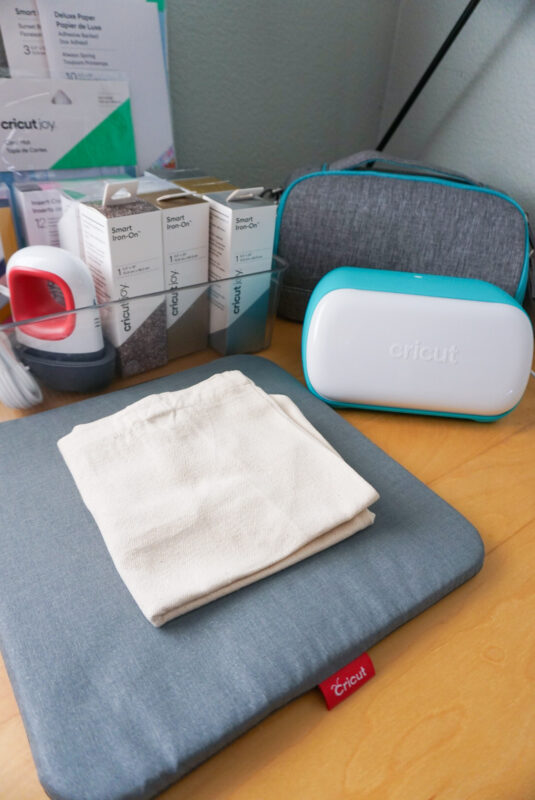
- Cricut EasyPress or Cricut EasyPress Mini
- Cricut Easy Press Mat
- 3 pack canvas tote bags
- Ruler
- Scissors
Directions
- Measure the bag that you will be using so that when you create your design, you can gauge how big to make your design. My tote bag is 13in x 13in so I used that information to make the words. I chose “resilient, patient, hopeful, confident, and magical.”
- Create your design using Cricut Design Space. You can also do this on the Cricut Design Space app but it was easier for me to use my computer to do some of the editing on the image I used. I used Cricut San for the text and “Magic” image (#M2388265F.) I also duplicated the image twice and contoured it so that I could reuse the “a” in “Magic” and used the squiggle under the image for the “l” so that instead of “Magic”- it would say “Magical.”
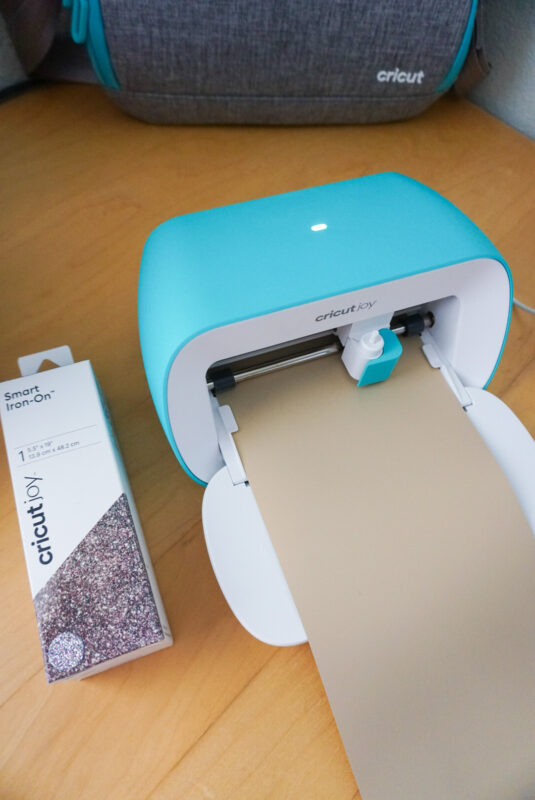
- When you are satisfied with your design, it’s time to cut using your Cricut Joy! Send it to the Cricut Joy by hitting the green “Make It” button. Since I am using Smart Materials- there’s no mat needed! Don’t forget to click on “Mirror” and load the material.
- After it is finished cutting, unload the machine and weed away the extra materials.
- Preheat your tote bag and then lay out your design with the sticky side down onto the fabric. Use your EasyPress Iron and iron on your design. If you’re unsure about the heating setting or how long you should heat your design for, refer to the Cricut Heat Guide.
- Carefully peel away the clear liner and your bag is done!

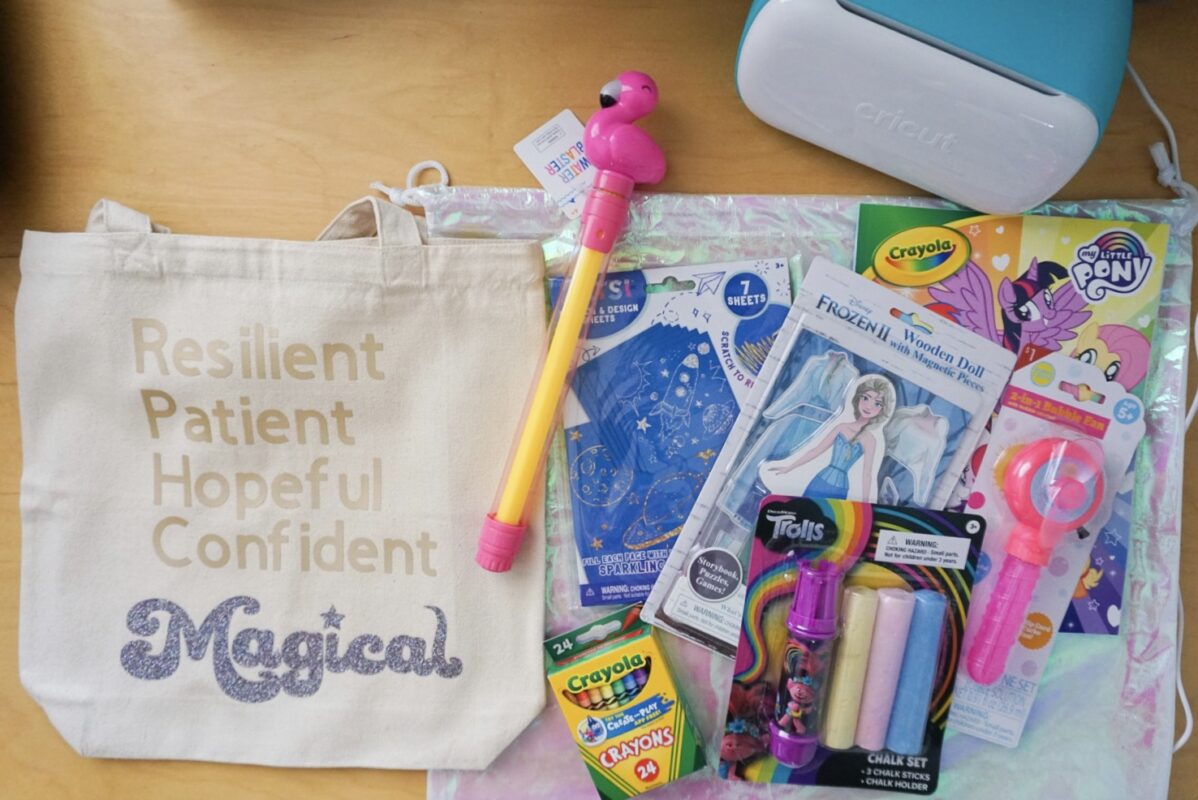
Fill the Bag
After you’re finished with your bag, fill it with some fun summer time activities. I decided to get a coloring book, bubbles, sidewalk chalk, crayons, and other knick-knacks. You can pick whatever items that you think your child will enjoy!
Package everything up and give it to your child or their friends for summer fun! I love that the bag can be used throughout the year and that the words on it are empowering and encouraging. What made it even better was being able to use the Cricut Joy with Smart Materials for everything!